The first stop on my quest for information on how to make vanilla was my kitchen cabinet. Like each one of you I have a bottle of vanilla extract just waiting patiently in my cabinet to be added to a delicious creation that will delight my family. The ingredients listed on the vanilla box was water, alcohol, vanilla bean extractives and sugar. The number one ingredient was water even though the bottle said it was pure vanilla. To me, it doesn't seem it can really be pure if it is watered down.
My next stop on my journey for information was the internet. Ahhhh...the internet is our friend. Anything we could possibly want to know is right at our finger tips. I learned vanilla in it's purest form is alcohol and vanilla beans.

If I was going to make my own vanilla extract I was going to need only 2 ingredients. I needed vanilla beans and alcohol. I wanted to use good quality ingredients so I needed to find Madagascar Vanilla Beans and a good drinking alcohol. In my search on the internet I learned I could use Rum, Bourbon or Vodka. I did not want anything to interfere with the vanilla flavor so I chose vodka because it is supposed to be odorless and tasteless. So, now I had the information I needed for the ingredients. Through Amazon.com I found the bottles I wanted to use and I found a company that sold top quality Madagascar Vanilla Beans. Olivenation and JR Mushrooms in Charleston, MA had the beans I wanted and the price I felt comfortable to pay. I made my purchases on the internet and they were on their way to me.

Now, all I need is vodka. A trip to the liquor store was on our list of things to do. My adorable husband who is always so sweet and willing to support me in my little projects and I made a trip to our local Centennial Liquor Store. This was quite an experience and a little overwhelming for someone who has been inside a liquor store only a handful of times in her entire life. We found our way to the vodka area of the store. I quickly learned there are many brands of vodka with prices ranging from very low to extremely high. The displays of the shiny bottles were absolutely beautiful. It reminded me of all the colorful lights on the midway at the Texas State Fair on a crystal clear October night. After standing in front of the magnificent bottles for a short time we met our saleman, Chris who turned out to be more than helpful in our quest for the best vodka for our vanilla. He greeted us and we chatted for a few minutes. We told him we were looking for vodka but did we did not know exactly what we were looking for. For some unknown reason, Chris was under the impression we were actually going to use the vodka for drinking purposes. So, it seemed to ever so slightly make him miss a beat on his selling technique when we told him we needed to purchase approximately 3 gallons. If you had blinked you would have missed the raising of his one eyebrow and the quick little studder in his sales pitch. Chris was so cute. He wanted to know if we were having a party. When we told him, "No. We are making vanilla." You would have thought that was something he heard everyday. Our new friend, quickly gained his composure and he gave us a tour through the aisles and displays of both domestic and imported vodkas. He also seemed very knowledgeable giving us little known vodka facts. He lead us to a middle of the road priced vodka. Titos. Besides all the facts about Titos brand vodka being smooth, odorless, tasteless, and a good drinking vodka, Titos is made in Austin, Texas. That fact alone was what sealed the deal for me. Since I am a native Texan I love all things Texas. There is no place on Earth like Texas. We were soon on our way with three huge bottles of Titos brand Vodka.

Let's talk a moment about the bottles I chose for my vanilla. When I decided to try my hand at making vanilla I decided if it turns out like I am hoping it will, I want to give vanilla to a few friends. Since it takes approximately 6 months for the vanilla to be ready that would be perfect timing for the holiday season. You can find bottles in many places. The Container Store is a great place but their bottles can be a little pricey. You could make it an adventure and go to local garage sales in your hometown, or travel to little out of the way places like antique stores or flea markets. For me, I wasn't into making the search for bottles an adventure at this time. So, again, I turned to the internet for bottles. My search lead me to Amazon.
In just a few minutes of searching I found just the bottles I had in mind. I wanted glass bottles with a clamp type of lid. They will hold 2 cups with room at the top for shaking the product during the infusion process. They were a little larger than what I actually wanted but that was ok. After all, they were going to be given away as gifts. Because a gift is supposed to have some WOW factor, a larger bottle of home brewed vanilla would be more of a WOW gift than a tiny little bottle of home brewed vanilla. I had found my bottles and in just a few minutes my bottles were ordered. They arrived in just a few days.

So, late last night we sterilized the bottles and allowed them to cool and dry overnight. Then the next morning we split the vanilla beans and added 2 to each bottle. Splitting the stalk of the beans will allow the tiny little beans inside to escape from the pods during the infusion process. Then, using the funnel we filled the bottles with Austin,Texas brewed Titos Vodka. We secured the caps and stored them in a cool dry place. Now all we have to do is shake the bottles at least once a week. In about 6 months we should have the purest, most delicious vanilla.

Day 3

Here is the progress of our vanilla after only 3 days. You can see the vodka is no longer clear. It has begun to take on a yellow tint. The vanilla beans floating in the bottles of liquid look somewhat like a science experiment. Do any of you remember the scene in the movie Independence Day when they showed the alien that had been captive since the 1950's?
While we are waiting on our vodka and vanilla beans to turn into a usable vanilla extract let's see a few recipes we can use with vanilla beans or our home brewed vanilla. Click on the recipes page.
Day 25
Well, here we are 25 days into the vanilla making process. You can see from the photos the vodka has turned a darker brown color. Almost an amber color. Well, if this is what happens with 2 vanilla beans in only 25 days can you imagine what will happen if we added more vanilla beans? We had beans left over so we added 2 more to each bottle. I can only imagine how dark it will be in 5 more months. We will see.


Are you curious about the cost of making home brewed vanilla? Do you think the cost of home brewed vanilla is comparible to the cost of buying it in your local grocery store?
Well, here is the breakdown:
Vodka : $37.87 per bottle
We were able to fill 12 bottles. This makes the vodka $9.47 per bottle.
Vanilla Beans : $22.29 (includes shipping ) This was for 50 vanilla beans. The beans were .45 cents each. We used 4 beans per bottle. So, the beans were $1.80 for each bottle.
Bottles : $41.45 (includes shipping) The bottles are 12 oz. bottles. There are 12 bottle per case so, the bottles are $3.45 each.
So, the comparison of the cost of vanilla purchased at the grocery store and the vanilla you brew at home is as follows: The cost per ounce of home brewed vanilla is $1.22 per oz. I recently saw 1 1/2 oz. of Adams brand vanilla for $5.39 at the grocery store. That means the store bought vanilla is $3.59 per oz. That is quiet a savings if you have the time to wait for your vanilla to brew.
8 weeks into the brewing process:
During the brewing process the vanilla is supposed to stay in a dark cool place. The closet in our bedroom is a very large closet and it has a dedicated air conditioning vent. For these reasons we decided that would be the best place to store the vanilla. We kept the box the bottles were shipped in and each time we check on the vanilla we place them right back in the box and close the top flaps. The box is perched on top of the dresser in the closet. It is cool. It is dark and it is easy access to check on the as often as we want too. I must admit my husband and really gotten into the whole process. He checks on the brew almost every day. After about 7 weeks into the process there had not been much change in the color for a couple of weeks. So, we decided it was time for a shot in the arm to bring the vanilla further along. It was time to add more vanilla beans to each bottle. We sliced the vanilla bean pods down the side and added one more pod to each of the bottles. After resting back in the closet for another week we were amazed at the progress. Take a look at the color of the vanilla now.


Look at the deep amber color of our home brewed vanilla after only 8 weeks. It is quiet a difference from the perfectly crystal clear vodka we started with to the deep amber it is now. Actually, I believe the color has passed the amber stage and is now a deep cherry wood color. Almost a reddish brown. No matter what the color may be, it is gorgeous. I wish there was some way for you to smell the aroma. It is the most heavenly scent. The very second I smelled the vanilla, I immediately thought of buttermilk pie. A warm fresh from the oven buttermilk pie has the sweet aroma of vanilla. Check out the recipe page for an easy delicious recipe for Buttermilk Pie.

Day 84
Today is the 84th day into our vanilla project. Each bottle is faithfully shaken almost everyday. It has not changed colors in a couple of weeks so we have decided it is time to add another vanilla bean to each bottle. We still think it will be ready to used by November 1st. That is only 69 days away. I didn't even realize we had past the half way point.
Day 124 Just checking in on the vanilla and there seems to not be a great change. Until..... we pop the cap off and smell the aroma. Oh my goodness. It smells delicious. Just a few more days until we will begin giving our vanilla away. I really want our Homemade Vanilla to be used in upcoming holiday recipes. Eventhough, many of us bake special treats for family and friends all through the year. The treats we bake during the holiday season are special. We usually pick the finest and freshest ingredients and we don't mind spending a little more money on our baking ingredients. Our holiday desserts are like putting the star on top of the Christmas tree. We want them to shine the brightest.
Day 145 The time is getting very close to give our vanilla away. So it is time to start thinking about how we want our final product look. After all, it is all in the presentation. We already have beautiful 12 oz. swing top bottles and 4 oz. round bottles we purchased from Specialty Bottle Supply in Seattle Washington. http://www.specialtybottle.com/ Now, it is time to design a label. Since our printer is an ink jet, we decided it would be best to purchase labels printed on a water resistant paper with an ink that will not run or smear if it should get wet. I found a company online, My Own Labels http://www.myownlabels.com/ . It is a very simple website to use and they have many choices. Just pick your design and size, type in your text and just a few days later your labels will arrive in the mail.

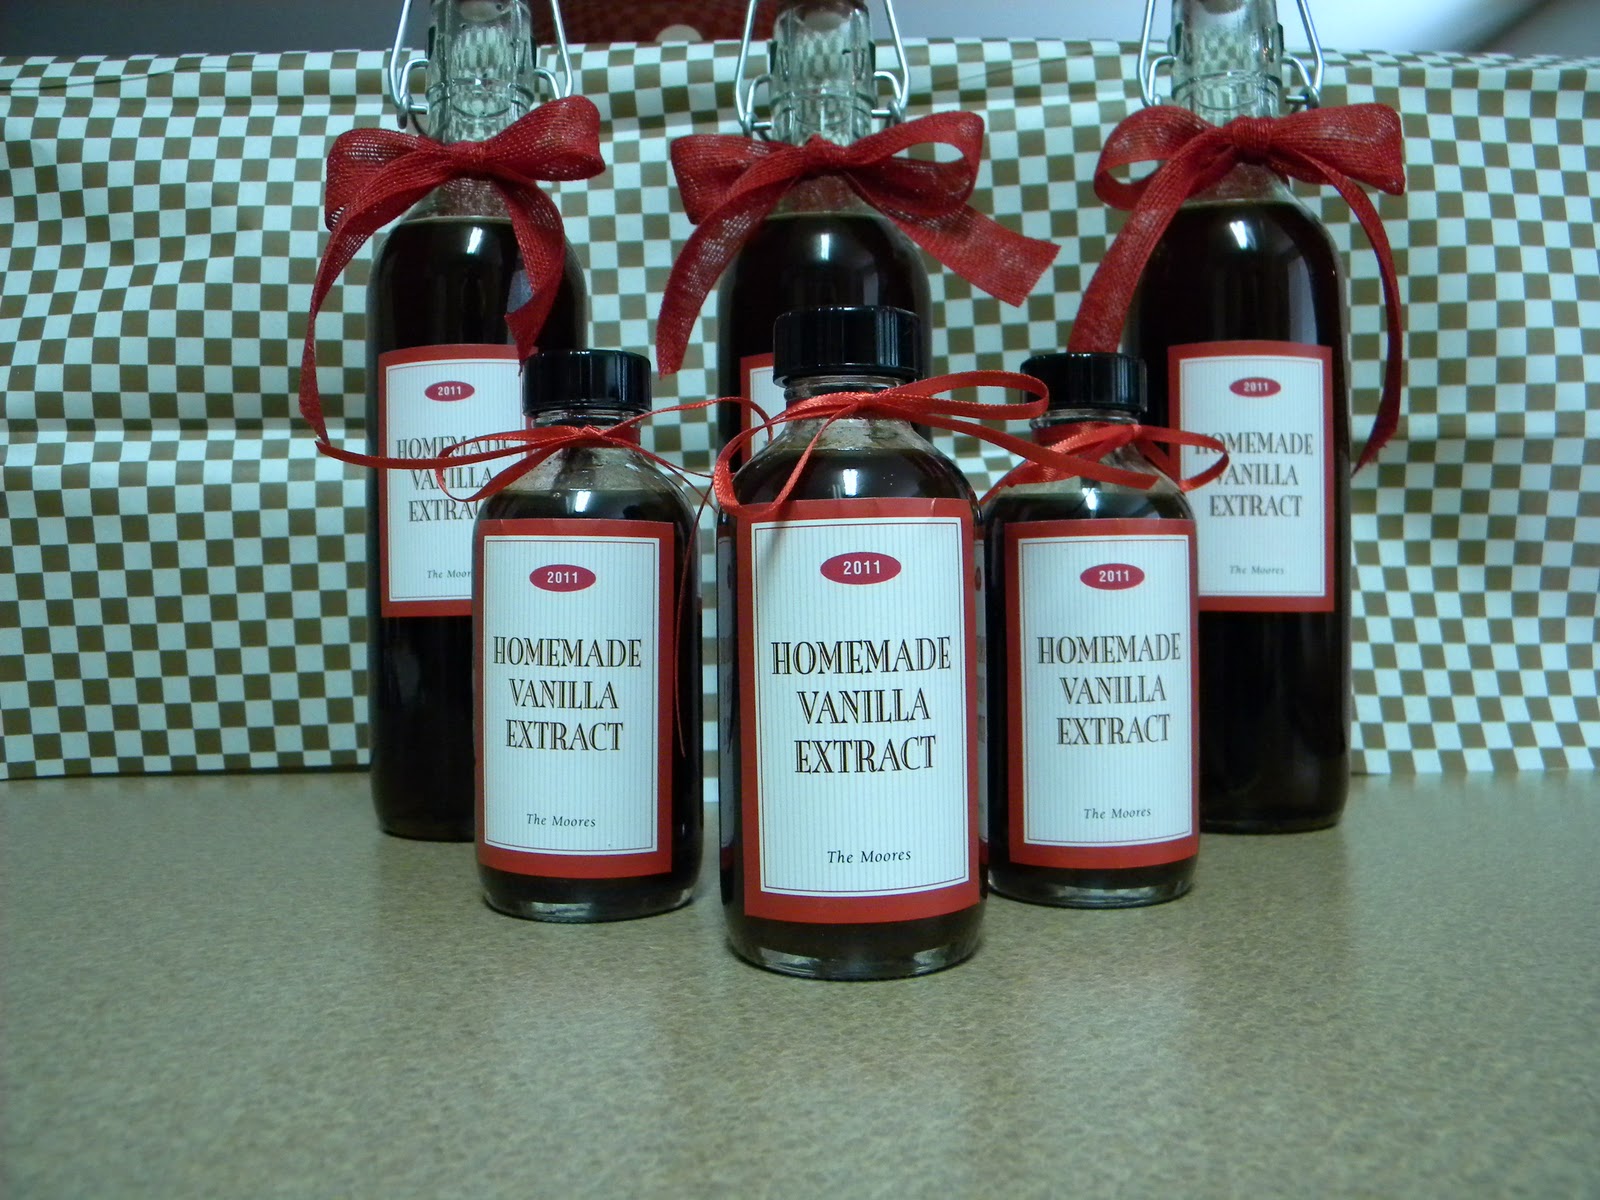
Beautiful !
Now, it is time for you to try making your own Homemade Vanilla. This is a very easy and fasinating project. You will end up with the most delicious and the purest vanilla extract you will ever use. The only ingredients are vodka and vanilla beans. No added water, sugar or caramel color. As you use your vanilla simply add vodka. Occassionally, you will need to add vanilla beans. Your vanilla will last for years.
Check back often for an update on Project : VANILLA